
Intune is an excellent Application Deployment tool (amongst other things), but application packaging can be tricky at times and as with most things, there are many ways of packaging an app.
In this post, I will run through the options for packaging an application into Win32/IntuneWin format, detection methods, supersedence and filtering.
For part 2, I will look at the new MSIX packaging format.
Win32
Win32 applications are your traditional Executable/MSI apps which are then wrapped into intunewin format using the Win32AppGui tool from Microsoft (more on that below)
Folder Layout
Before we do any packaging, we need to keep our application source code neat and tidy so we can easily work out what’s what when we need to update that weird and wonderful application in 2 years time!
An IMPORTANT thing to note here is that the packaging tool will grab every file in the Source directory you point it to, so make sure that directory only has source files in it. If you point it at your Downloads folder for example, you’ll find yourself wondering why a 2Mb installer is showing as 45Gb when packaged!
This is entirely personal preference, but this folder layout works for me:
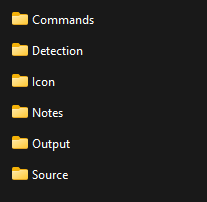
The source folder is the raw files, installer, config files etc.
Output is where we’ll store the intunewin file
The rest are pretty self-explanatory
Now for your installation options
Calling MSI/Exe Directly
If it’s a simple install, we could simply package up the MSI or Executable on it’s own and then in Intune set the install command to run the file.
msiexec.exe /i myinstaller.msi /qnmyinstaller.exe /silentThis is perfectly acceptable, but obviously doesn’t allow for any customisation pre or post install.
It’s also worth noting that if the MSI has been written to install in the User Context, Intune may force it to do the same and you’ll notice the context is greyed out. If you want one of these to install in the system context, you’ll either need to edit the MSI, or wrap it using a method below.
Batch Script
As much as I love Powershell, sometimes it’s easier to use a batch script for a simple installation. It could be you want to add/remove a reg key, stop a service or even just remove the shortcut from the application.
Simply create your installation batch script and when packaging, this is your install file.
For example:
rem Delete file
del c:\temp\myfile.txt


rem Stop Service
net stop myservice

rem Install App
my-installer.exe /verysilent /allusers /noreboot

rem Delete Shortcut
del %public%\desktop\myshortcut.lnk
A few handy hints if using a batch script:
In a command prompt type SET to get a list of variables on the machine. These can be referenced within % as I have done with the Public user environment %public%
If you want to reference the current directory, use %~dp0 but DON’T add a backslash:
%~dp0myinstaller.exeWithin Intune, simply set your install command to “install.bat” or whatever you have called your batch script.
Powershell Script
Powershell scripts take installation one step further as you have greater control over the machine (and for something complex it is just easier). You can put logic in, look at the underlying hardware, anything is available at this point.
I have a wrapped template available on Github here to get you started
As an example, for an MSI:
    $MSIArguments = @(
    "/i"
    ('"{0}"' -f $filelocation)
    "/qn"
    "/norestart"
    "/L*v"
)
Start-Process "msiexec.exe" -ArgumentList $MSIArguments -Wait -NoNewWindow
Of course, when using Powershell you can also add/remove features for apps which don’t have an MSI
Using DotNet as an example (packaged here):
Enable-WindowsOptionalFeature -Online -FeatureName 'NetFx3' -Source .\sxs\ -NoRestart -LimitAccessThe installation command within intune would be:
powershell.exe -ExecutionPolicy Bypass -file myinstaller.ps1PSADT
PowerShell Application Deployment Toolkit (PSADT) is a very powerful tool which leverages Powershell but gives many built-in functions to take it one step further.
For example, you could check if applications are running and prompt for the user to close them, you could run a particular file in the user context and have the rest in the system context, or add pre/post install commands.
A full list of the functions are here
NOTE: If deploying via Intune and you want user interaction, you’ll need to use the ServiceUI executable from the MDT Toolkit. To save you a job, I have it here
I often use PSADT for deploying office applications and updates as it gives the option to prompt the users to close any apps they may have open. For example, MS Project (just the key parts, the whole ps1 can be found here):
    Show-InstallationWelcome -CloseApps 'excel,groove,onenote,outlook,mspub,powerpnt,winword,iexplore,teams,visio,winproj' -CheckDiskSpace -PersistPrompt

		## Show Progress Message (with the default message)
		Show-InstallationProgress

		## <Perform Pre-Installation tasks here>


		##*===============================================
		##* INSTALLATION
		##*===============================================
		[string]$installPhase = 'Installation'

		## Handle Zero-Config MSI Installations
		If ($useDefaultMsi) {
			[hashtable]$ExecuteDefaultMSISplat =  @{ Action = 'Install'; Path = $defaultMsiFile }; If ($defaultMstFile) { $ExecuteDefaultMSISplat.Add('Transform', $defaultMstFile) }
			Execute-MSI @ExecuteDefaultMSISplat; If ($defaultMspFiles) { $defaultMspFiles | ForEach-Object { Execute-MSI -Action 'Patch' -Path $_ } }
		}

		## <Perform Installation tasks here>
		Execute-Process -Path "$dirFiles\setup.exe" -Parameters "/CONFIGURE InstallO365withProject.xml"

		##*===============================================
		##* POST-INSTALLATION
		##*===============================================
		[string]$installPhase = 'Post-Installation'

		## <Perform Post-Installation tasks here>

		## Display a message at the end of the install
		If (-not $useDefaultMsi) { Show-InstallationPrompt -Message 'Installation has been completed. You will find Project in the All Programs section.' -ButtonRightText 'OK' -Icon Information -NoWait }
	}
Deploying a PSADT packaged application, for user interaction, the install command would be:
.\ServiceUI.exe -Process:explorer.exe Deploy-Application.exeUninstall
We will of course need an uninstall command as well.
You can use any of the options above, but just make sure to include it when packaging the application or you’ll have problems if you need to remove it in the future.
Packaging the app
Now we have our source files and installer, we need to package it using the IntuneWinAppUtil from Microsoft.
This takes the source files, encrypts and compresses them and gives us our intunewinfile
First we load the application (for ease, I’m just using 7-Zip) and we’ll be presented with this screen:
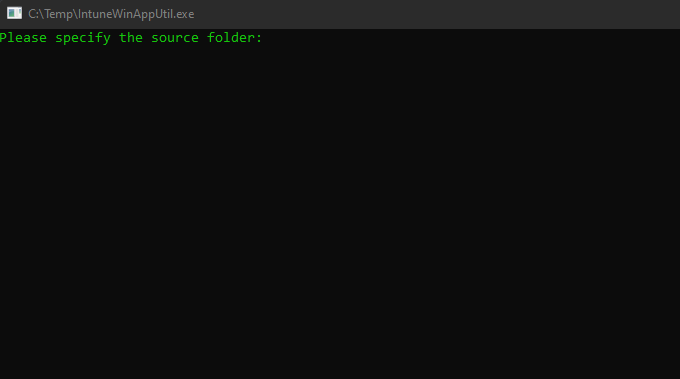
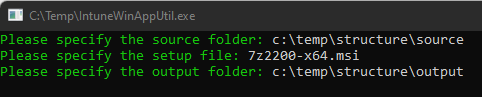
Point it to the source folder:

Point it to the Installer (msi, batch, PS1 or PSADT)

And finally, tell it where to put the intunewin
Detection
Before adding to Intune, it is worth grabbing the detection type so it knows the install has completed correctly. I usually install into a Sandbox and then have a look around, but if it’s an MSI, you can quickly grab the product code using this powershell script:
$path = "PATH TO MSI"

$comObjWI = New-Object -ComObject WindowsInstaller.Installer
$MSIDatabase = $comObjWI.GetType().InvokeMember("OpenDatabase","InvokeMethod",$Null,$comObjWI,@($Path,0))
$Query = "SELECT Value FROM Property WHERE Property = 'ProductCode'"
$View = $MSIDatabase.GetType().InvokeMember("OpenView","InvokeMethod",$null,$MSIDatabase,($Query))
$View.GetType().InvokeMember("Execute", "InvokeMethod", $null, $View, $null)
$Record = $View.GetType().InvokeMember("Fetch","InvokeMethod",$null,$View,$null)
$Value = $Record.GetType().InvokeMember("StringData","GetProperty",$null,$Record,1)


write-host "Your MSI code is $Value" -ForegroundColor Green
This will output the MSI code you can use for both detection and uninstall
Adding to Intune
Now we have our application package, we need to add it to Intune:
Navigate to https://endpoint.microsoft.com and then select Apps – Windows
Click Add and Select Win32:
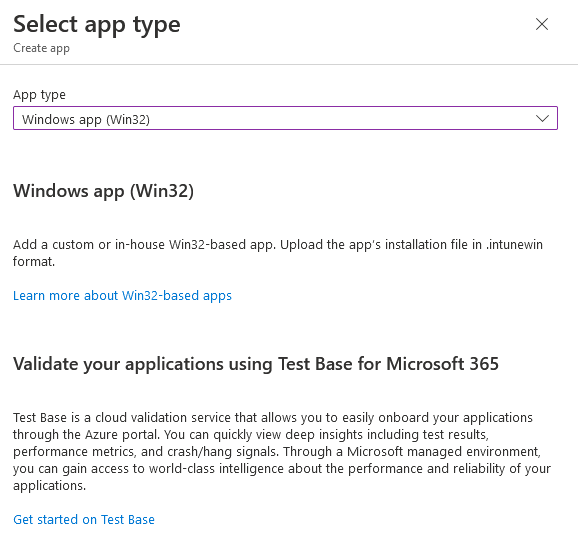
Select your IntuneWin and populate any fields on this page. You can also add your icon at the bottom to appear in Company Portal
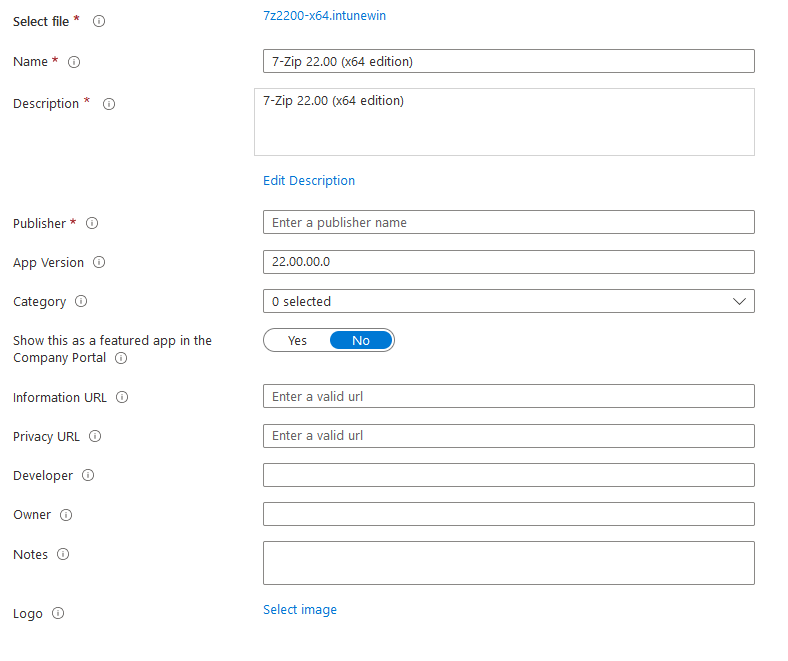
Click Next
Enter your install and uninstall commands established earlier, whether that is a script, or calling directly:
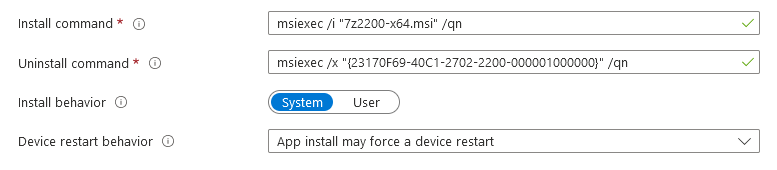
Here you can select the install context (unless it is a hard-coded MSI as discussed earlier)
Click Next
Add any app requirements (64-bit for example). I also usually add the earliest supported Windows OS version here, we don’t want unsupported versions so it’s another reason for them to call for help
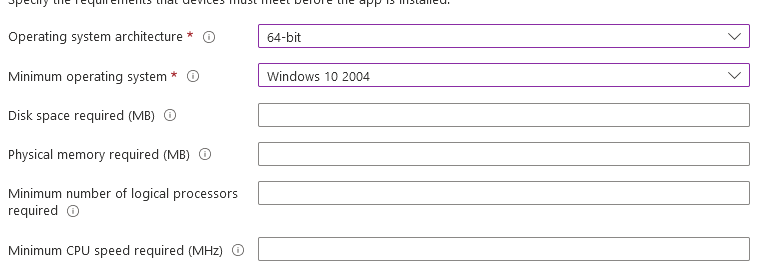
You can also add a requirement rule to check if the app exists (for updates). Read about those here
If you want to try a Requirements Script, read about those here
Click Next
Here you add your detection rule from earlier (or a custom script, read about those here)
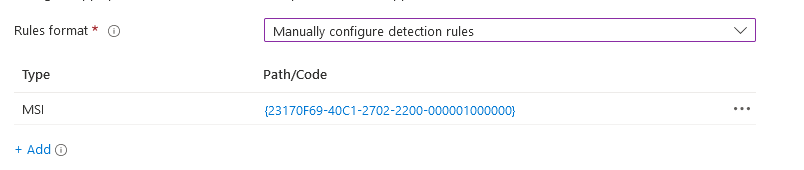
Click Next
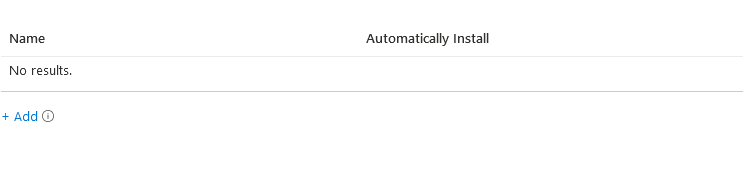
If the application requires something else to be installed first, add that here. You can also specify whether to force an install if it is missing. This is useful if you have a plugin for office, or an application which needs both System and User context sections so can be split into two apps:
Click Next
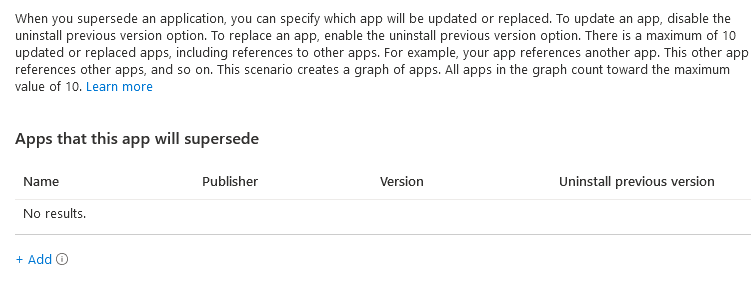
The next screen gives Supersedence options. If this is an updated application, select the previous version and you can tell it whether to in-place upgrade or remove and re-install. Whilst in preview, it works well and I would definitely recommend using it
Click Next
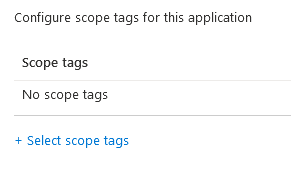
Add any scope tags as needed (read about those here)
Click Next
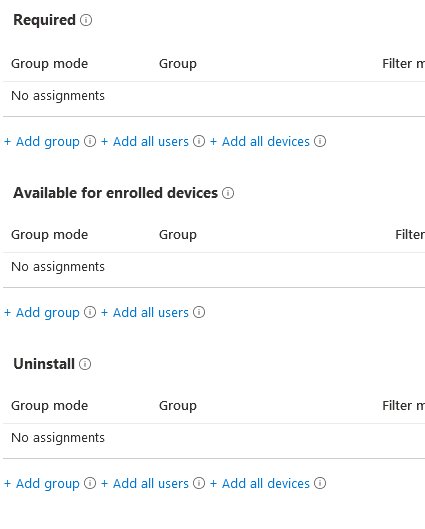
Now assign the application (read more about the different intents here)
It’s also worth looking at filtering at this point, you can read about that here
Finally Click Next
And then Create
Congratulations! You have now packaged and deployed your first Intune application!
Which Installer(exe) must i point to when creating intune.win file for MS Project PSADT?
You’ll need to use ServiceUI.exe in the install command, but when creating the file, technically any will work fine. I’d probably use deploy-application.exe