
As I’m sure you’ve worked out, I’m a big fan of automating any regular mundane tasks to concentrate on the more exciting things and one of these tasks is customising each Intune environment with tenant specific information (background URL, homepage, contact details etc.).
Whilst I have a build script (read more here) with a GUI form on the top, I still feel like more can be done.
Enter Power Automate, I’m still digging into all of the features but thought I would cover this one as it’s proving very useful to me and hopefully will be to other people.
Let’s start out with a Microsoft Form which we can hopefully get the customer/end-user to fill in for us:

I’m keeping this one simple for the demo, but obviously you can add as many questions as you want and grab the details back.
Normally, I’d simply export the CSV and then copy/paste into the Powershell form, but now we’re going to let Power Automate do the hard work
Now, head over to the Power Automate website
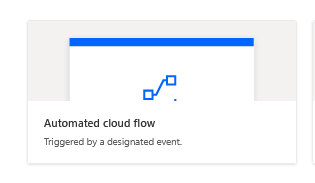
We want to create an Automated Cloud Flow
Give it a name and select Microsoft Form as the trigger
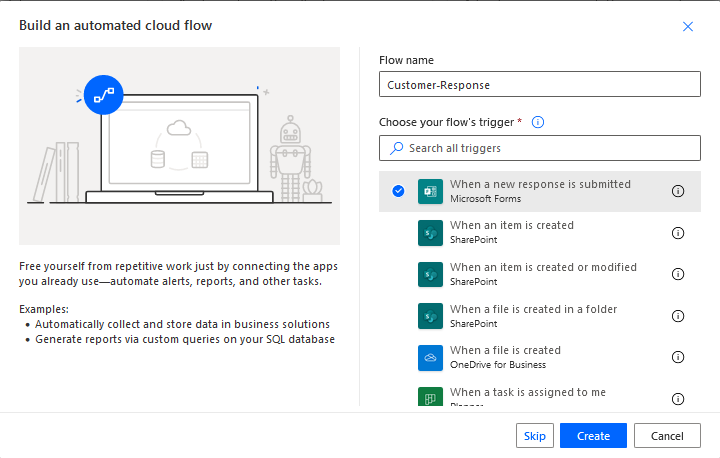
Now select the form from the drop-down list
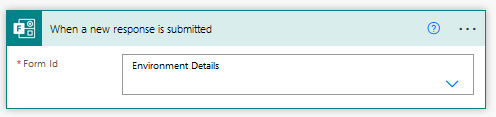
Click Add a New Step and Select Get response details
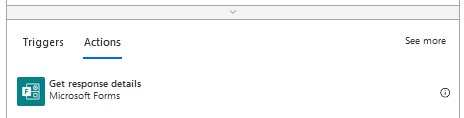
Select your form and response ID
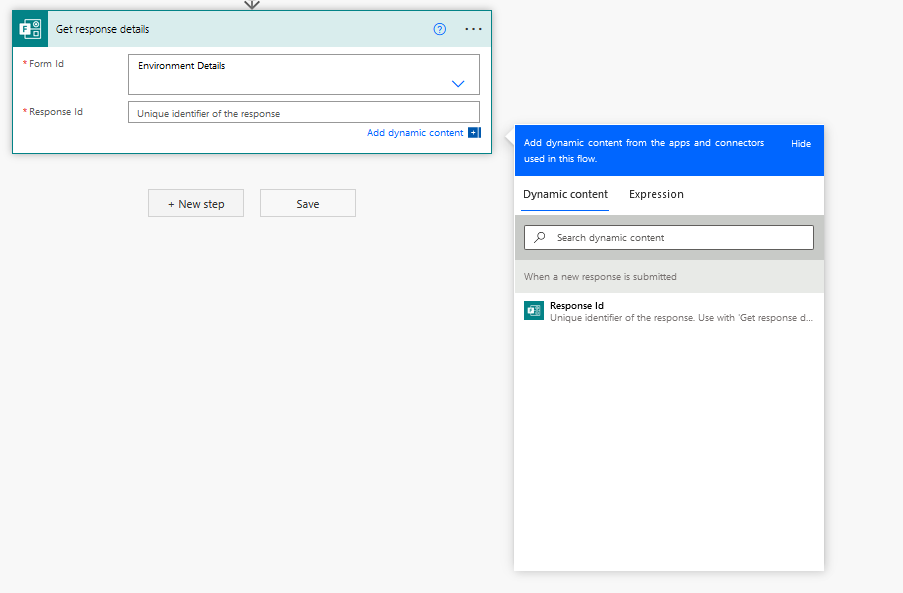
Power Automate can now access the responses from your form
Now we need to get the data over to us, I’m going to opt for email response with CSV attachment (you could upload directly to an Azure Storage account, but this is a premium feature so watch your licensing)
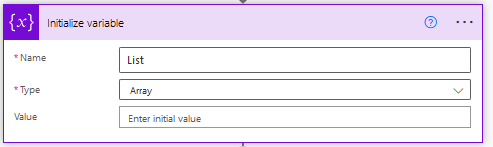
Add a new action to Initialize Variable as an array with a blank value (we’ll add the details next)
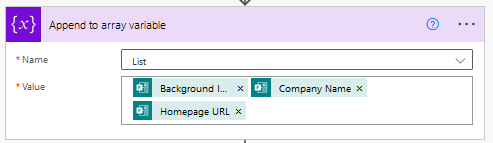
Now append to the array variable with our output
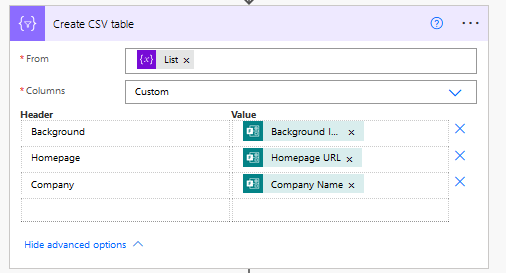
Then create the CSV
Now send an email with the CSV
Select Send an Email (V2)

Enter the email details and then within the Advanced Options add the CSV output

So now we have our CSV with the data in, now it needs adding into our JSON files or JSON text depending if you’re doing an import, or a fresh scripted build.
Within Powershell, import the content of the CSV
$formresponse = "C:\Temp\Form.csv"
$responsedetails = import-csv $formresponse

$backgroundurl = $responsedetails.Background
$homepageurl = $responsedetails.Homepage
$companyname = $responsedetails.Company
If you are directly entering JSON, simply add these fields:
If you are using an import/export, you need to do a find and replace then update the json
$json = "JSONPATHHERE"
#Update Client Name
(Get-Content -path $json-Raw ) `
-replace 'WHATEVERIAMREPLACING',$companyname| Set-Content -Path $json
Now, if you aren’t licensed for Windows 10 Enterprise, you can’t set the background via a config policy. For this I use powershell scripts (one for user-level, one machine-level) which you can grab from here:
Then update the scripts
##Device Script
$devicescript = "Device Config.ps1"

#Update Client Name
(Get-Content -path $devicescript -Raw ) `
-replace '<CLIENTREPLACENAME>',$companyname| Set-Content -Path $devicescript

#Update Client Homepage
(Get-Content -path $devicescript -Raw ) `
-replace '<CLIENTHOMEPAGE>',$homepageurl| Set-Content -Path $devicescript

#Update Background location
(Get-Content -path $devicescript -Raw ) `
-replace '<BACKGROUNDBLOBURL>',$backgroundurl| Set-Content -Path $devicescript


#Update Background Name
(Get-Content -path $devicescript -Raw ) `
-replace '<BACKGROUNDFILENAME>',$backgroundfilename | Set-Content -Path $devicescript


##User Script
$userscript = "User-Config.ps1"
(Get-Content -path $userscript -Raw ) `
-replace '<BACKGROUNDFILENAME>',$backgroundfilename | Set-Content -Path $userscript
There we go, customer fills in a form, you save a CSV and let Powershell and Power Automate do their thing!
Watch this space for more Power Automate goodness as I find it!