
Microsoft Dev Boxes have today entered Preview. If you don’t know anything about them, they are pre-configured machines to deploy to your developers with all of the software they are likely to use (and admin rights if needed). Fully secure and high performance, they meet the needs of developers without IT staff having to worry about opening up the end-user machines.
There is an excellent video here if you want to learn more
This post will run through creating a Dev Box from scratch. Keep in mind this is still in preview so the UI may change.
Table of Contents:
- Dev Center Creation
- VNet Creation
- Network Connection
- Project Creation
- Managed Identities
- Network Assignment
- Custom Image
- Dev Box Definition
- Creating a Pool
- Assigning Access
- User Experience
- Endpoint Manager
First, find Microsoft Dev Box within the Azure Portal
Dev Center Creation
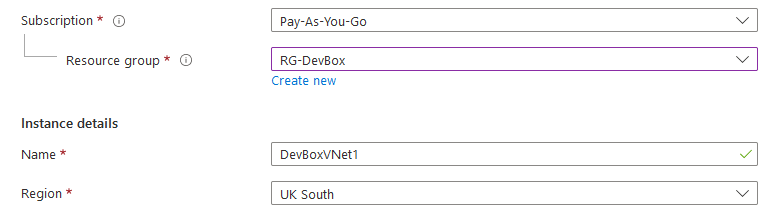
Create a Dev Center
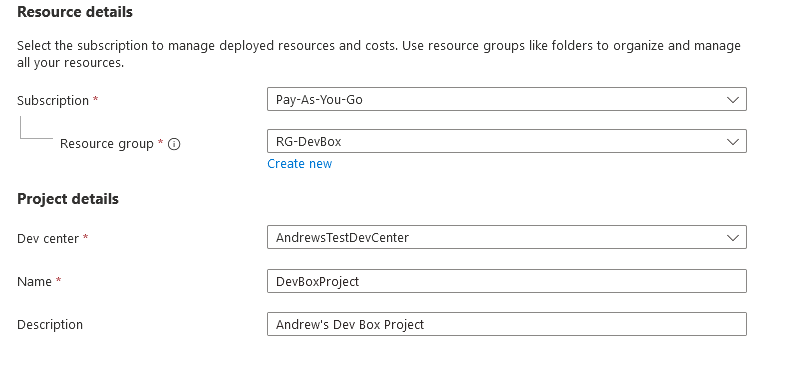
Enter the details
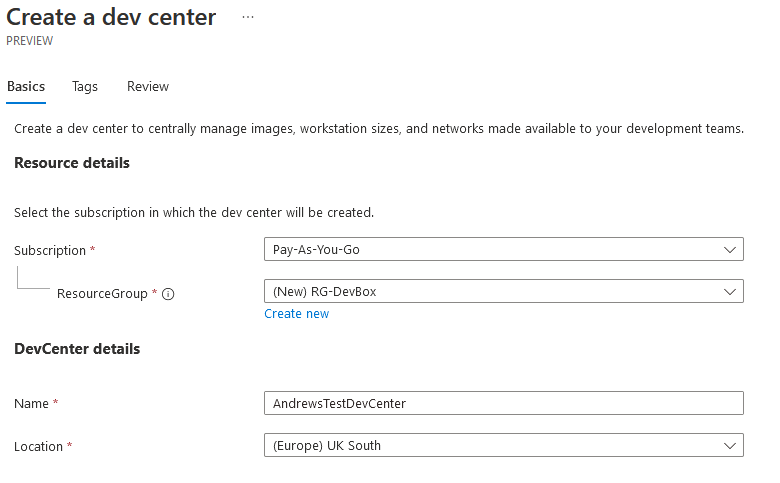
Click Create
VNet Creation (if required)
If you don’t have one already, create a VLAN for the DevBox to user
Change the IP range if required
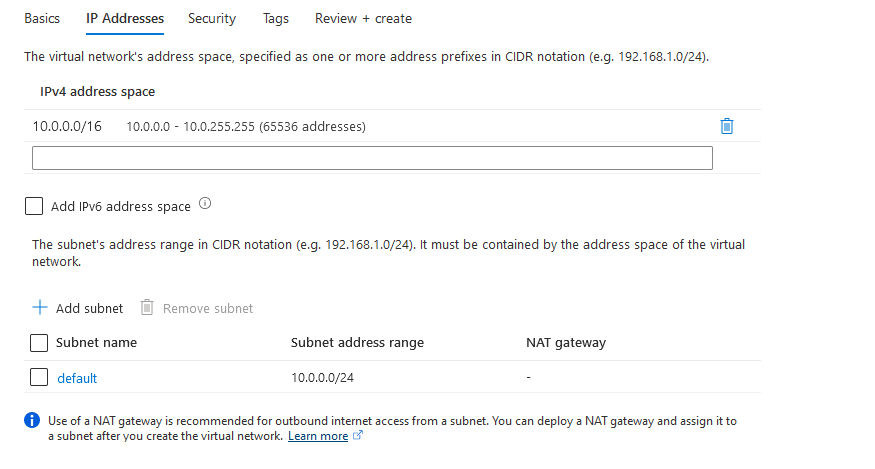
Change any other settings as needed, then click Create on the Review screen
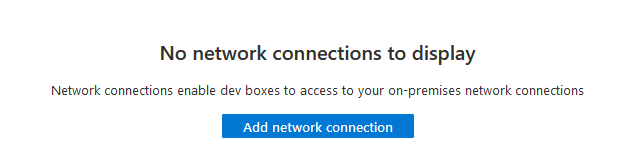
Network Connection
Now back to the Dev Box blade
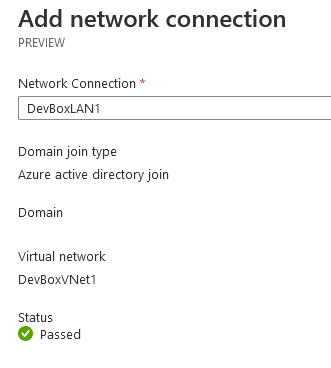
Add a Network Connection

Select the Resource Group and network created above. You also have the option of domain joining here if your network is connected to a domain (mine isn’t so I’m going AAD join)
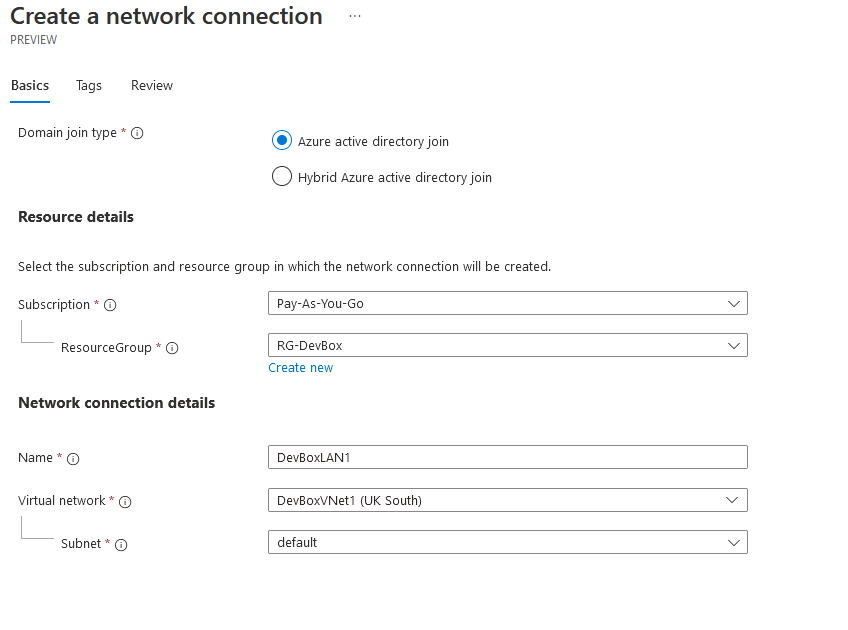
Click Create
Project Creation
Now we need to create a Project to “enable you to manage team level settings and empower development teams to self-serve dev boxes”:
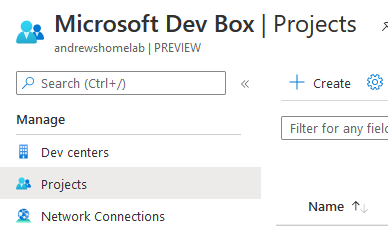
Then click Create
Managed Identities
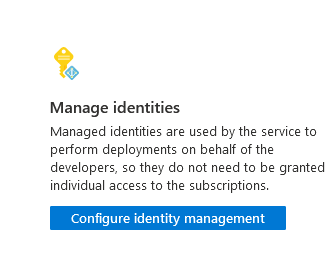
If you click on your Dev Centre, you also have the option to create a service principal and then assign roles to it, this way the users don’t need access to Azure themselves and everything is done from the principal
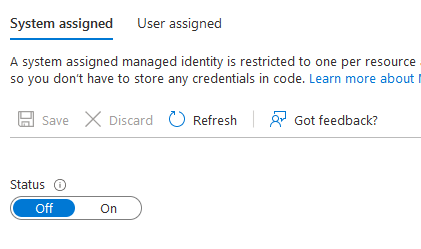
Select System or User Assigned, turn on and click Save
After accepting the prompt you will be given the service account ID and a button to add whatever permissions are required:
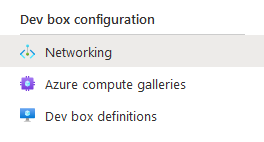
Network Assignment
Now in the Dev Box config, we need to add the network we created earlier
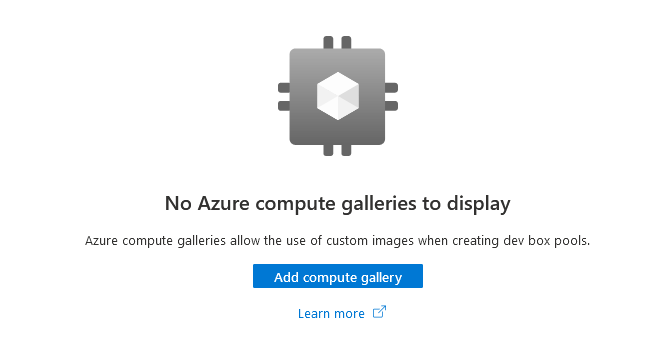
Custom Image
You can also add a gallery should you want to deploy your own image. I’m just using a marketplace one because I prefer builds to be off-the-shelf and then deploy apps via Winget/Choco/Intune etc.
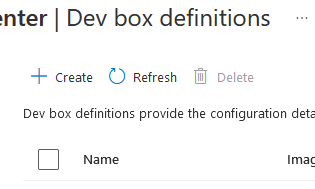
Dev Box Definition
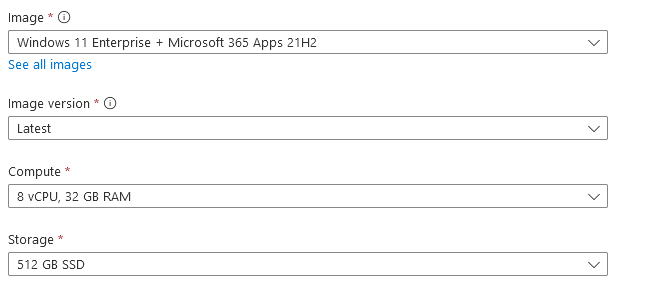
We also need to create a definition
This is where you select the image and VM details. In preview it’s free for an 8vCPU with 512Gb SSD so go big or go home
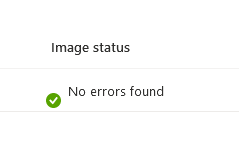
This part can take a few minutes to complete, but you can see the progress

When it is complete, you will see this:
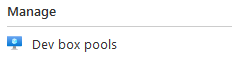
Creating a Pool
Now navigate to the Dev Box project created earlier and click on Dev box pools
Select the Definition and Network created earlier and confirm you are licensed. There is a link to this website if you’re not sure
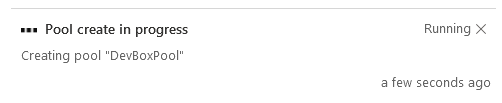
Progress for this part appears in the standard Azure notifications area
Assign Access
Within the Project we now need to assign users
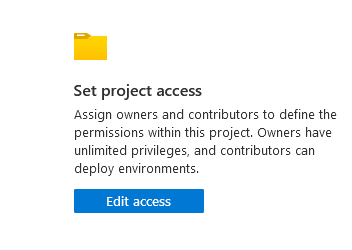
I’m going to assign myself Owner access for testing, this is where you assign user access to the pool
User Experience
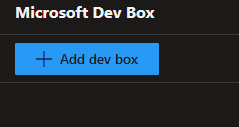
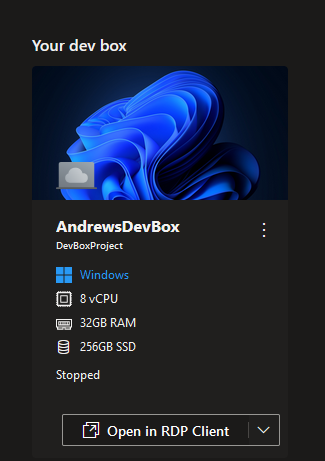
Once you have assigned your users, they need to visit the DevBox Portal
Once Logged in, Add a Dev Box
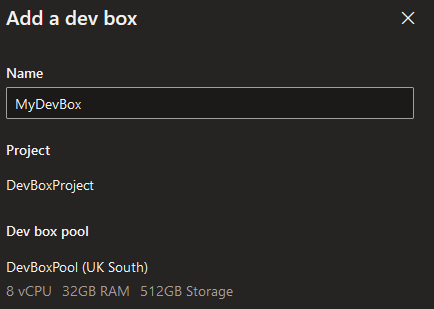
You can see I only have one definition created, but if users have access to multiple pools, they will be able to select here
Now the dev waits 60-90 minutes for the box to create
Once created, click Connect Via Remote Desktop and you’ll have access to the box (you can also open in the browser)
If it’s first time, it boots the machine up so the initial login can be longer than usual, this is perfectly normal and will save money compared to leaving it running 24/7
Endpoint Manager
We can also see the device now within Endpoint Manager:

And it’s attempting to install my targeted apps so is fully managed
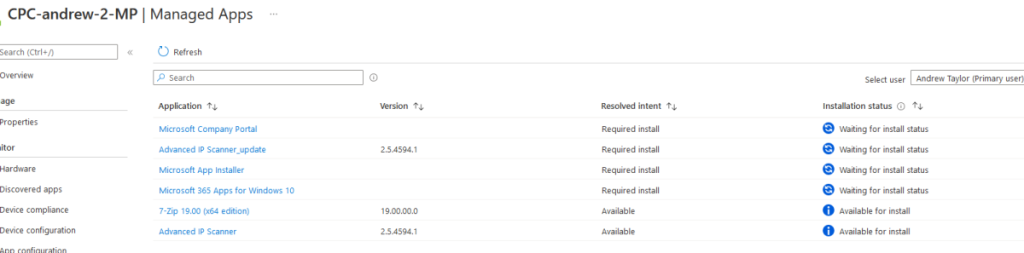
Even my config policies have applied (where applicable)

I hope this has been useful, as always, comments are welcome