
- Introduction
- Creating Azure AD App Registration
- Creating GitHub Repo and Token
- The PowerShell Script
- Creating the DevOps Pipeline
- The YAML File
- Other potential improvements
Introduction
Application packaging can be one of the most time and resource intensive parts of managing a modern desktop estate, especially if you look after multiple customers.
Winget gets us part of the way there (see my previous scripts here and here), but they all use the community repository which could be a security concern for some and also restricts which apps you can use.
After discovering you can use custom manifests to deploy apps (see my post here), I have combined that into a DevOps Pipeline which will automatically create your IntuneWin package, AAD groups and assign it as soon as it detects a new YAML file in the Github Repository.
Obviously you want your repo to be private as well so we’ll be using a token to authenticate.
For those of you with mutliple tenants, fear not, it can be cross-tenant!
Creating Azure App Registration
The first thing we need to do is create an App Registration in Azure AD which can be used to create the apps and groups.
Navigate to Azure AD and click App Registrations, then create a new Application
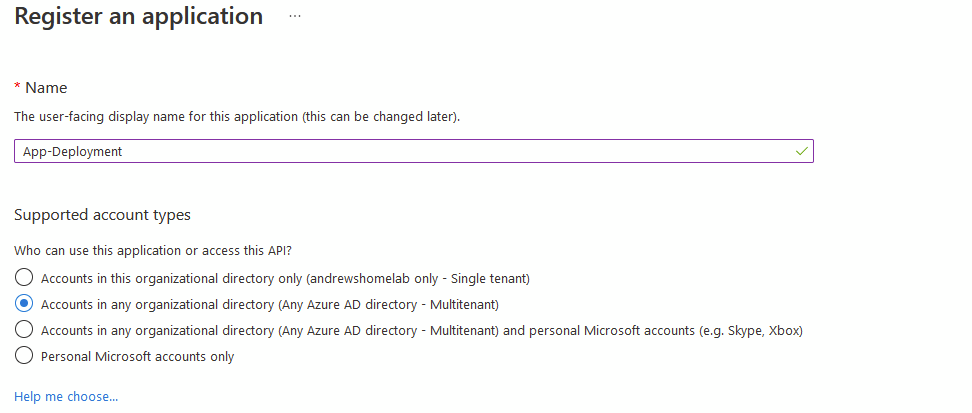
Give your application a name you will recognise and then select either Single Tenant or Multi-Tenant depending on your requirements, then click Register
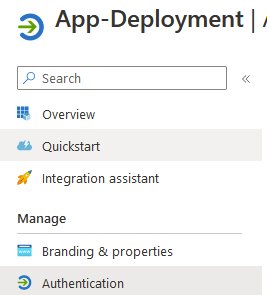
Grab the Application (Client ID) from the Overview screen
Now click Authentication
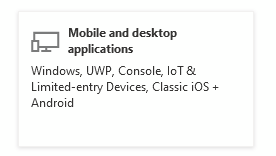
Click Add Platform
You want Mobile or Desktop Application
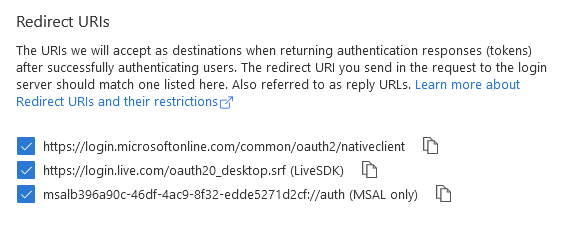
Tick the 3 boxes and click Configure
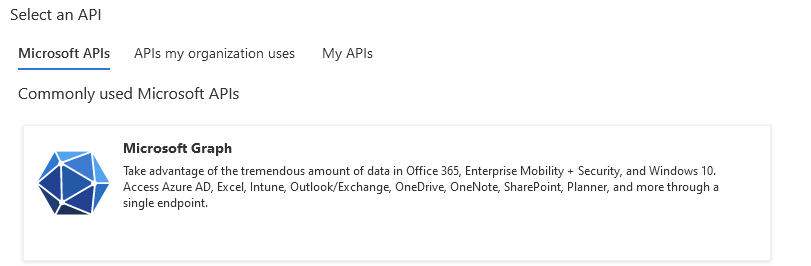
Next, select API Permissions and click Add a Permission
Select Microsoft Graph
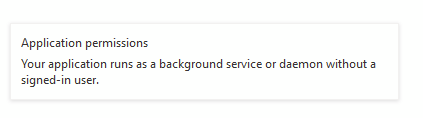
Select Application Permissions
Add these:
- DeviceManagementApps.ReadWrite.All
- DeviceManagementConfiguration.ReadWrite.All
- DeviceManagementManagedDevices.ReadWrite.All
- Domain.Read.All
- Group.ReadWrite.All
- Organization.Read.All
You’ll see it’s still not finished, you need to click Grant admin consent

Last step here, click Certificates & secrets
Add a new secret

Add a name you’ll remember and set an expiry (I’m using 24 months because I’m lazy)
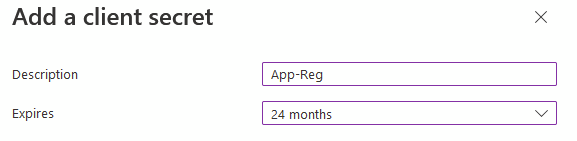
Copy the Secret Value somewhere safe, it won’t re-display it and if you lose it you’ll need to create a new one
Creating GitHub Repo and Token
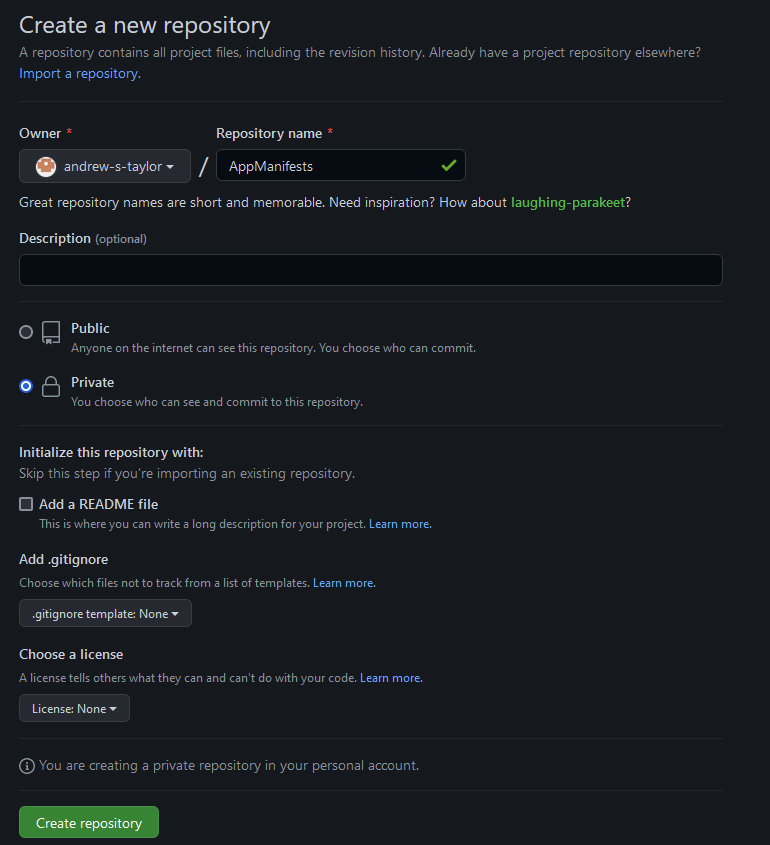
Now we need to create a repo we can use to host both the YAML files and the devops pipeline itself.
Create a repository, public will also work, but private probably makes more sense for source code
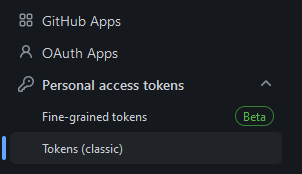
Now we need to create the token, in GitHub navigate to Settings (in the top right menu) – Developer Settings (at the bottom)
I’m using a Personal Access Token, but the API commands are all compatible with a GitHub App if you would prefer
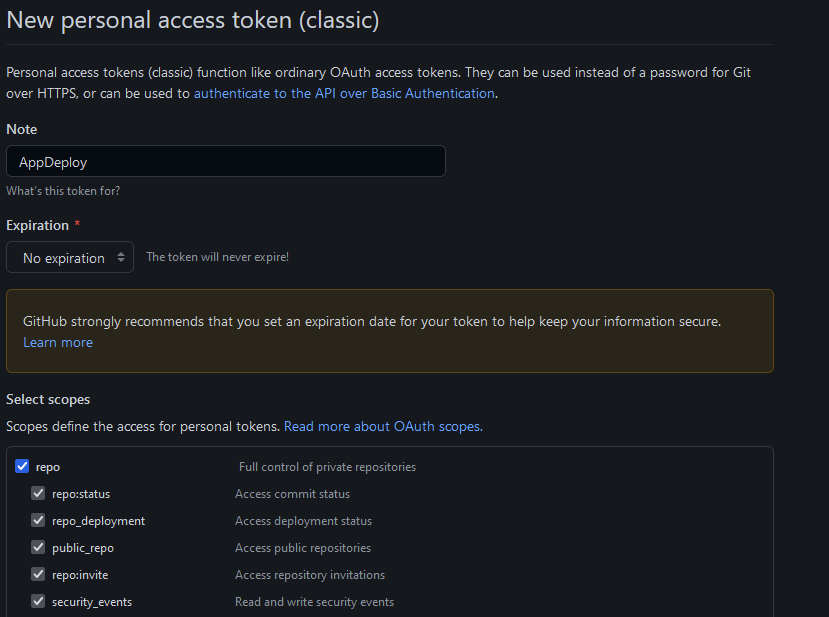
Generate a new classic token and grab the output, it only needs Repo access
The Script
Before we create a pipeline, we need to add the PowerShell script into the new repo.
The script can be found here
After installing modules and authenticating, the script will first use the GitHub API to find the most recently modified YAML file as this is what will have triggered the pipeline
Then it grabs the app details from the YAML, creates an install script and configures install/uninstall commands and detection using the details we added to the YAML.
Next it will create the intunewin file (it downloaded the utility earlier) and upload it to Intune
It also creates install and uninstall groups and assigns them to the newly created application
Remember these installs all use Winget so the intunewin file does not contain any source code, it is simply telling winget where to grab everything from in the manifest file.
The install script will look like this:
$filename = $filename2.Substring($filename2.LastIndexOf("/") + 1)
   $curDir = Get-Location
   $filebase = Join-Path $curDir $filename
   $Winget = Get-ChildItem -Path (Join-Path -Path (Join-Path -Path $env:ProgramFiles -ChildPath "WindowsApps") -ChildPath "Microsoft.DesktopAppInstaller*_x64*\Winget.exe")
   Start-Process -NoNewWindow -FilePath $winget -ArgumentList "settings --enable LocalManifestFiles"
   Start-Process -NoNewWindow -FilePath $winget -ArgumentList "install --silent  --manifest $filename"
Creating DevOps Pipeline
If you don’t have a DevOps account yet, follow the Microsoft guides here:
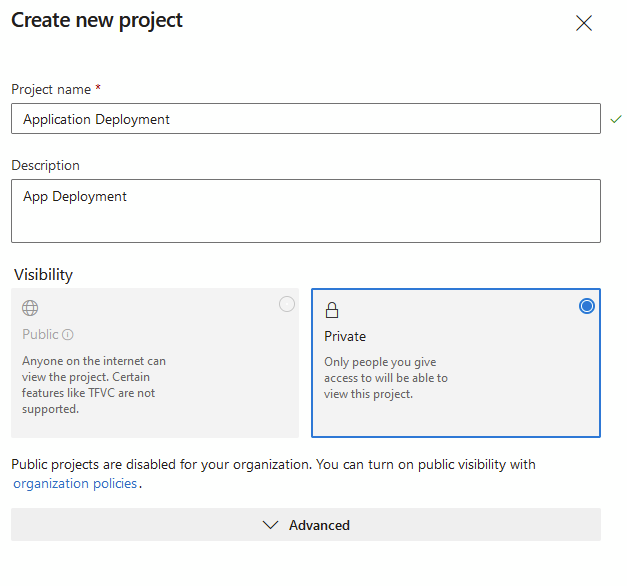
Once you’re setup, start a new project

Fill in the details
Now click Pipelines
And create a Pipeline
Select GitHub
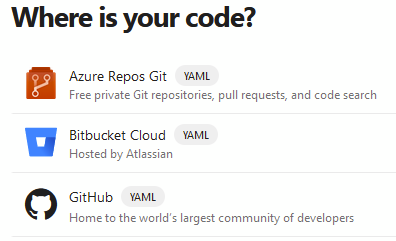
After authenticating, select the Repo you created earlier
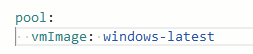
Click Starter Pipeline

In the YML, change the VM image to windows-latest
Click Variables

Add the following:
- clientid (the app reg ID)
- clientsecret (the secret value)
- ownername (the Github account name)
- reponame (the repo we created earlier)
- tenantID (the tenant ID we are deploying to)
- token (your GitHub token)
Add this code to your YML
- task: PowerShell@2
  inputs:
    filePath: '.\add-winget-package-pipeline.ps1'
    arguments: '-reponame $(reponame) -tenant $(tenantID) -clientid $(clientid) -clientsecret $(clientsecret) -ownername $(ownername) -token $(token)'
Click the save button (not save and run, we’re not done yet). Change the filepath if you have renamed the PS file created earlier
Click the 3 dots and select Triggers
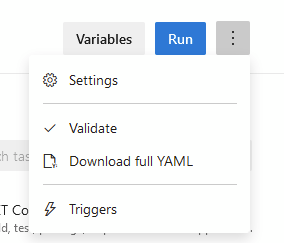
We only want this pipeline to trigger if we add or update a YAML file, not if someone updates readme.md or something else so override the trigger

Add this to only look at YAML files
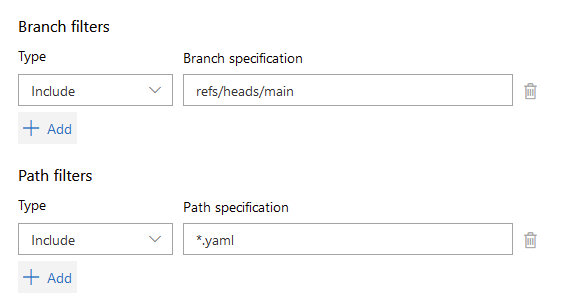
That’s the pipeline created and sitting happily waiting for you to add some juicy YAML content
The YAML
As mentioned earlier, the only things in the repo are manifest files, no source code it present so it’s all lightweight and the manifest is telling Winget what to do.
An example manifest can be found here
PackageIdentifier: Foxit.FoxitReader
Publisher: Foxit
PackageName: FoxitReader
PackageVersion: 11.0.0.49893
License: 2020 © Foxit Software Incorporated. All rights reserved.
InstallerType: exe
Tags:
- PDF
- Foxit
- ICON=https://cdn.imgbin.com/1/24/20/imgbin-foxit-reader-pdf-foxit-software-computer-icons-adobe-acrobat-top-view-m5LPTpiUBTVMVjaHzkfHBRtDb.jpg
- DETECTION="c:\program files(x86)\Foxit Software\Foxit Reader\FoxitReader.exe"
- UNINSTALLCOMMAND="%ProgramFiles%\Foxit Software\Foxit Reader\unins000.exe" /silent
- ADGROUPI=Intune-App-FoxitReader-Install
- ADGROUPU=Intune-App-FoxitReader-Uninstall
ShortDescription: Industry's Most Powerful PDF Reader.
PackageUrl: https://www.foxitsoftware.com/pdf-editor/
Installers:
- Architecture: x86
  InstallerUrl: https://cdn01.foxitsoftware.com/product/reader/desktop/win/11.0.0/FoxitReader110_L10N_Setup_Prom.exe
  InstallerSha256: 6D33CA56B5C6E7F412FF7E7AF6A78036DF4E7AFFD1754975CA9A0A89DF9D570C
  InstallerSwitches:
    Silent: /silent /COMPONENTS="pdfviewer,ffSpellCheck,ffse" CPDF_DISABLE="1" /TASKS="startmenufolder"
    SilentWithProgress: /silent /COMPONENTS="pdfviewer,ffSpellCheck,ffse" CPDF_DISABLE="1" /TASKS="startmenufolder"
PackageLocale: en-US
ManifestType: singleton
ManifestVersion: 1.0.0
MinimumOSVersion: 10.0.18362.0
As you can see, I have exteded the Tags field (no limit on this one) to include Detection, Uninstall Commands and the AAD Group Names.
I would also suggest including version numbers in the Package Name if you plan on deploying multiple versions to make things easier (also o the AAD group names)
The InstallerUrl can be absolutely anywhere so you can have your own source files on an Azure Blob or similar if you need to use non-vendor installers.
What else can this do?
Now we have this automated, you can add approvals so the pipeline won’t run until someone approves it.
You’ll also notice the TenantID is a variable and not hard-coded. If you have used a multi-tenant app reg, you can have multiple pipelines within the same DevOps account with different tenants to service multiple environments at the same time.
You could also combine the two and have approvals before it hits each tenant so for example, you deploy to Dev, test and then approve deployment to live, or get client approval to deploy to them.
Hopefully this is of use, DevOps is a powerful tool, especially when combined with PowerShell and Graph to make anything ‘as code’
Hi Andrew I already fixed the last error (using the function UploadAzureStorageChunk from https://github.com/gregnottage/IntuneScripts/edit/master/Upload-IntuneWin/Upload-IntuneWin.ps1),
But now iam having another problem more , that i have to investigate.
the fail is “$id = [System.Convert]::ToBase64String([System.Text.Encoding]::ASCII.GetBytes($chunk.ToString(“0000″)))”
Inside the function –>
function UploadFileToAzureStorage($sasUri, $filepath, $fileUri) {
try {
$chunkSizeInBytes = 1024l * 1024l * $azureStorageUploadChunkSizeInMb
write-host “Start the timer for SAS URI renewal.”
$sasRenewalTimer = [System.Diagnostics.Stopwatch]::StartNew()
write-host “Find the file size and open the file.”
$fileSize = (Get-Item $filepath).length
$chunks = [Math]::Ceiling($fileSize / $chunkSizeInBytes)
$reader = New-Object System.IO.BinaryReader([System.IO.File]::Open($filepath, [System.IO.FileMode]::Open))
$reader.BaseStream.Seek(0, [System.IO.SeekOrigin]::Begin)
write-host ” Upload each chunk. Check whether a SAS URI renewal is required after each chunk is uploaded and renew if needed.”
$ids = @()
write-host “Antes del bucle”
for ($chunk = 0; $chunk -lt $chunks; $chunk++) {
write-host “Dentro del bucle $chunk”
write-host “antes del system.convert”
$id = [System.Convert]::ToBase64String([System.Text.Encoding]::ASCII.GetBytes($chunk.ToString(“0000”)))
write-host “despues del system.convert”
$ids += $id
$start = $chunk * $chunkSizeInBytes
$length = [Math]::Min($chunkSizeInBytes, $fileSize – $start)
$bytes = $reader.ReadBytes($length)
$currentChunk = $chunk + 1
Write-Progress -Activity “Uploading File to Azure Storage” -status “Uploading chunk $currentChunk of $chunks” `
-percentComplete ($currentChunk / $chunks * 100)
UploadAzureStorageChunk $sasUri $id $bytes
write-host ” Renew the SAS URI if 7 minutes have elapsed since the upload started or was renewed last.”
if ($currentChunk -lt $chunks -and $sasRenewalTimer.ElapsedMilliseconds -ge 450000) {
RenewAzureStorageUpload $fileUri
$sasRenewalTimer.Restart()
}
}
the fail is when i try to upload the file maybe:
Uploading file to Azure Storage…
0
Invoke-UploadWin32Lob : Aborting with exception: Microsoft.PowerShell.Commands.WriteErrorException: PUT https://mmcswdb
01.blob.core.windows.net/703ab293-730f-466d-b6d6-bd26abd971ce/1efb042c-058a-4d62-8a7d-5315ed878399/0a189b2d-90cf-48ac-9
ae4-db17dc6d3dec.intunewin.bin?sv=2016-05-31&sr=b&si=-768882867&sig=dk2mDTAq8Nsa8zzbqJJthR%2Bths%2Bqqgc4GTF1rVuw8bw%3D&
comp=block&blockid=MDAwMA==
Wonderfull article. but i am havig problems with the funtion:
Invoke-UploadWin32Lob -SourceFile “$intunewincreated” -DisplayName “$DisplayName” -publisher “$publisher” `
-description “$description” -detectionRules $DetectionRule -returnCodes $ReturnCodes `
-installCmdLine “$installcommandline” `
-uninstallCmdLine “$uninstallcommandline”
I always get this error:
2022-12-12T12:13:08.7622381Z Invoke-UploadWin32Lob : Aborting with exception: Microsoft.PowerShell.Commands.WriteErrorException: PUT https://mmcswdb
2022-12-12T12:13:08.7623856Z 02.blob.core.windows.net/703ab293-730f-466d-b6d6-bd26abd971ce/2c01ce5b-ce95-4e59-8e4e-885348e36d6d/3d260642-faa6-4c21-9
2022-12-12T12:13:08.7624990Z db1-0410f8dd72ec.intunewin.bin?sv=2016-05-31&sr=b&si=-1695619864&sig=LnT9EVA%2BghrswxRMvuyRB9UKrl2eaeY%2BffYoJdu53%2BM%
2022-12-12T12:13:08.7626689Z 3D&comp=block&blockid=MDAwMA==
2022-12-12T12:13:08.7627802Z At C:\Users\useradm\agent\_work\1\s\add-winget-package-pipeline.ps1:2630 char:5
2022-12-12T12:13:08.7629161Z + Invoke-UploadWin32Lob -SourceFile “$intunewincreated” -DisplayNam …
2022-12-12T12:13:08.7630040Z + ~~~~~~~~~~~~~~~~~~~~~~~~~~~~~~~~~~~~~~~~~~~~~~~~~~~~~~~~~~~~~~~~~
2022-12-12T12:13:08.7631002Z + CategoryInfo : NotSpecified: (:) [Write-Error], WriteErrorException
2022-12-12T12:13:08.7632038Z + FullyQualifiedErrorId : Microsoft.PowerShell.Commands.WriteErrorException,Invoke-UploadWin32Lob
2022-12-12T12:13:08.7632861Z
2022-12-12T12:13:08.9632543Z ##[error]PowerShell exited with code ‘1’.
Great post, I found that Organization.Read.All App reg permissions were also required.
Good spot, thank you. Will get that added to the script
Hi Taylor,
Thank you for the blog and scripts. This is very helpful. Would like to check how would this work with keeping the apps up to date with the proactive remediation tasks? Can we still utilize the same process as in your previous post?
Hi,
Yes, if you are using custom manifests, you just need to amend the remediation script to reference the manifest file when calling the upgrade command (the easiest way is probably to replace the txt with a CSV and then you can grab the app name and manifest in the loop)