
Whilst I have many scripts which run in Azure runbooks (some are designed to do so), I’ve never actually covered how to setup your first automation account to use with Graph so now is the time to sort it!
- Pre-requisites
- Creating an account
- Adding modules
- Creating an app reg
- Authenticating with secret
- Authenticating with certificate
- Authenticating with managed identity
- Adding a script
- Webhooks
- Scheduled Jobs
- Hybrid workers
Pre-requisites
You’ll need an Azure subscription, pay-as-you-go is fine as nothing in this will acrue costs.
Within the subscription you will need permissions to create resources, including potentially an app registration as we will cover the different connection methods.
Creating an automation account
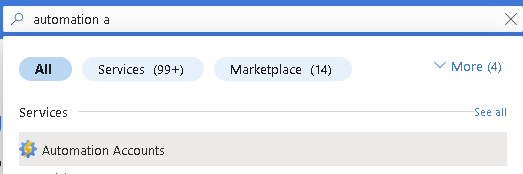
Within your Azure tenant, search for and select Automation accounts:
Click Create

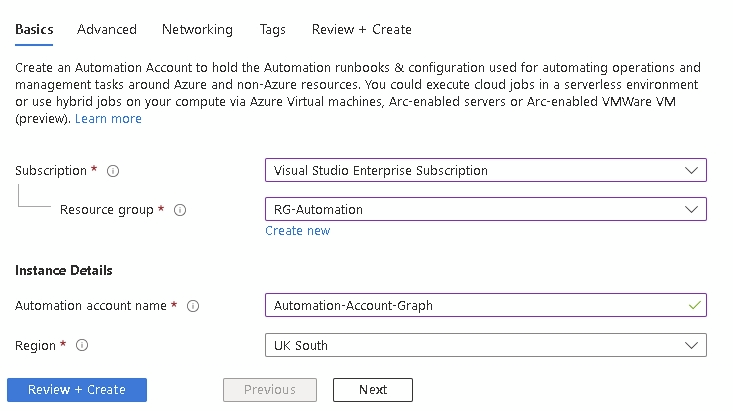
Select your subscription and resource group. If you haven’t yet created a resource group, simply click Create new and Azure will handle the rest.
You will also need a name for your automation account and a region. Unless you have specific private networking requirements, or require tags in your environment, click Review + Create
If everything looks correct, click Create
After a minute or two your deployment will be complete:
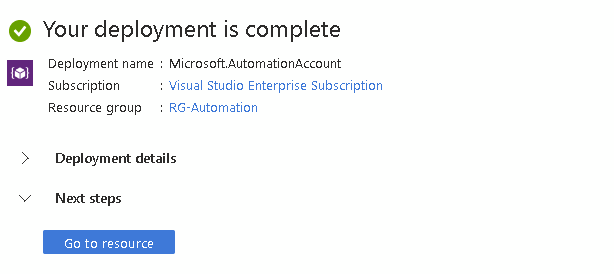
Click Go to resource so we can add our Graph modules. We will add the scripts once we have everything else in place
Adding modules
Out of the box, your runbook account will include all Azure az. modules, but as we are using Graph, we need to manually add them.
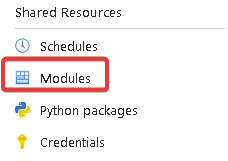
Under Shared Resources, click Modules
Click Add Module

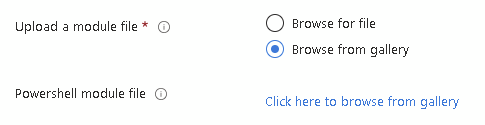
Select Browse from gallery and click on the blue text
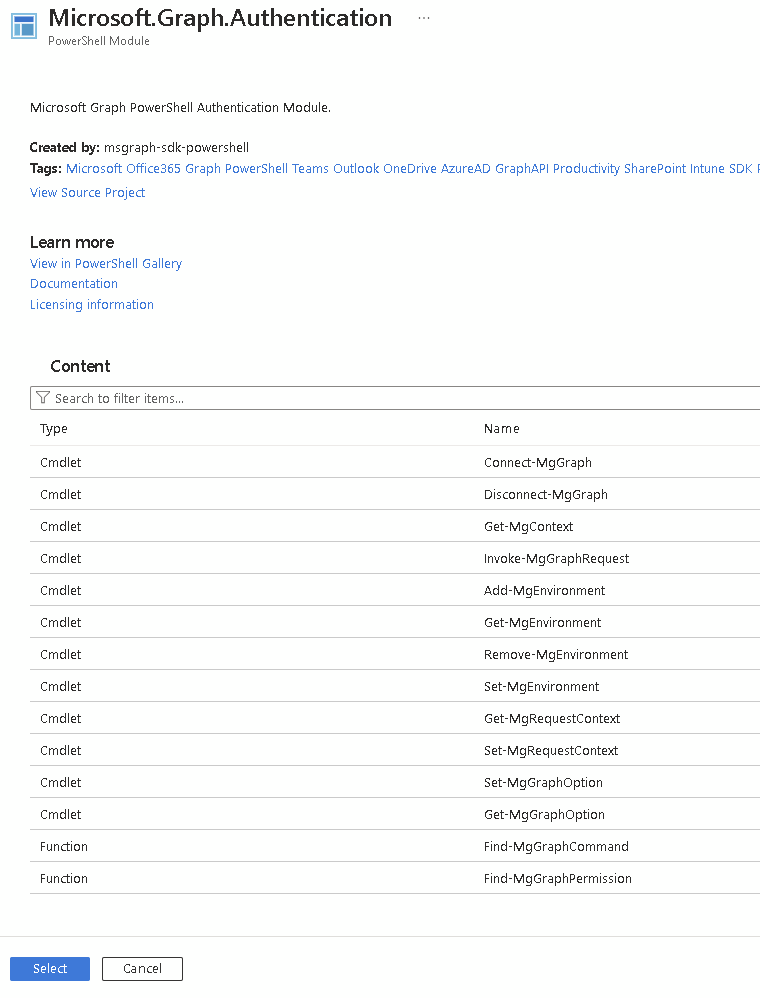
Your script should hopefully tell you which modules to add and you need to follow this process for each one. In this case we are adding Microsoft.Graph.Authentication as this is a requirement for all of my scripts:

Click on the module and press Select
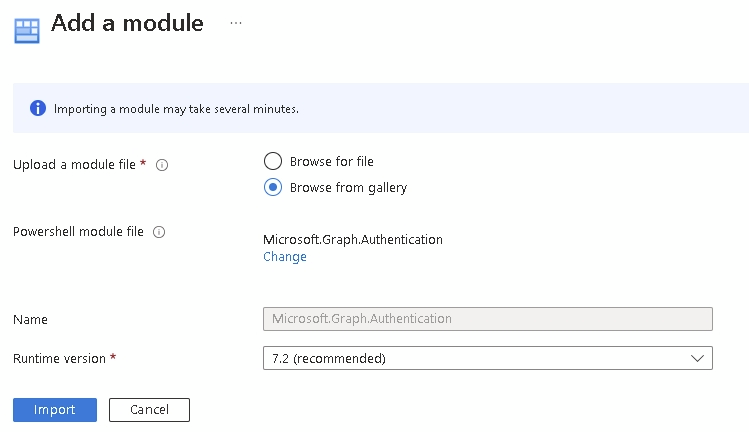
It will pre-populate the name so the final choice here is to select the PowerShell version. This needs to match the version used in your script. You can have the same module in the automation account multiple times for different PS versions
Now click Import
If we refresh our module list, you can see the module is importing

After a few minutes is will be available

Now we can look at the different ways to connect.
App reg
We will start with the more commonly used option and if you need multi-tenant connections, often the best option. We will use both secret and certificate here
This uses an app registration created in Entra with permissions assigned.
In the portal, search for and select Entra ID

Click on App Registrations

Click New Registration

Give you app reg a name and select if you need it to be multi-tenant. Ignore the redirect URI for now. Then click Register
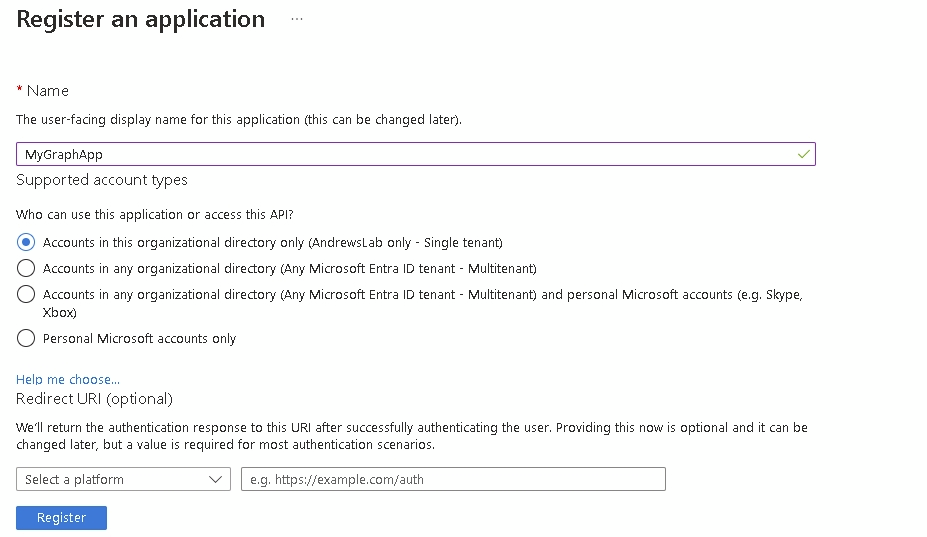
On the overview, make a note of the client ID as we will need that to authenticate later

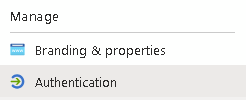
Now we can set the redirect URI, click authentication
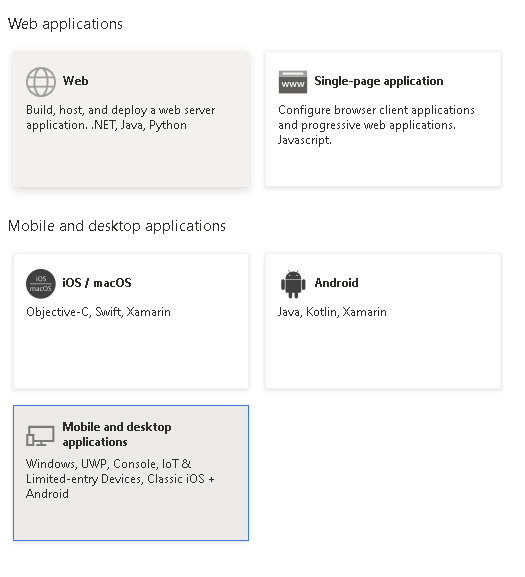
Click Add a platform

If your app doesn’t require any special URIs, select Mobile and Desktop applications
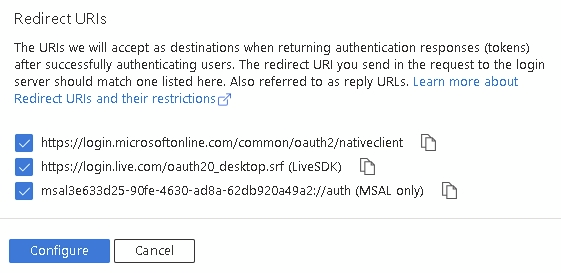
Check the three boxes and click Configure
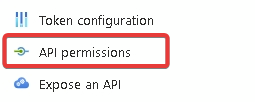
Next, it’s going to need some permissions, click API Permissions
Click Add a permission

This is a graph guide, so select that:
We can now select permissions, Delegated permissions run as the logged in user so for an automation, unless we are passing credentials (which is a bad idea), we need Application

Now select your permissions, for Intune looked under DeviceManagement for the main ones and watch for Read vs ReadWrite depending on what you need to do.
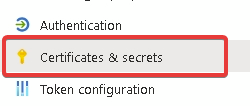
Now we configure our authentication, click on Certificates and Secrets
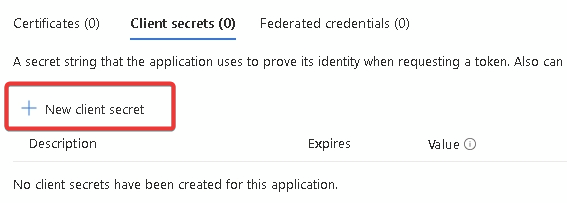
Client ID and secret
Starting with the more widely used, client ID and secret
Click New client secret
Give your secret a name and an expiry, up to 24 months. Make a note of the expiry date as your secret will stop working after that
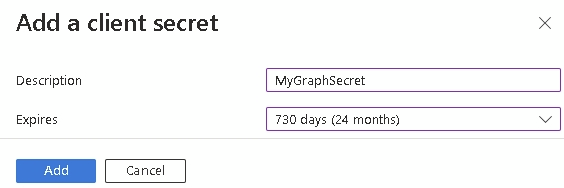
After clicking Add, copy the Value and store it somewhere secure, once you leave the page, it cannot be revealed again

Connecting
We will use the Version 2 module of the microsoft.graph.authentication here.
To connect using an app reg (script can be found here)
Using our client ID and secret, we retrieve an access token:
            $body = @{
                grant_type    = "client_credentials";
                client_id     = <<<APPIDHERE>>>;
                client_secret = <<<APPSECRETHERE>>>;
                scope         = "https://graph.microsoft.com/.default";
            }

            $response = Invoke-RestMethod -Method Post -Uri https://login.microsoftonline.com/<<<TENANTID>>>/oauth2/v2.0/token -Body $body
            $accessToken = $response.access_token
We then connect with the token which in V2 needs to be converted to a SecureString:
$accesstokenfinal = ConvertTo-SecureString -String $accessToken -AsPlainText -ForceCertificate in Azure vault
If you would rather not use an app secret as it’s stored in plain text, an alternative is a certificate stored in a key-vault which we can retrieve within the script.
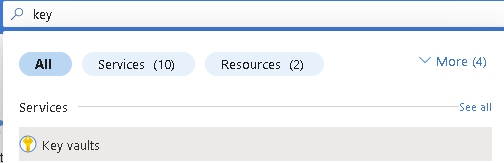
Within the Azure portal, search for and select Key Vaults
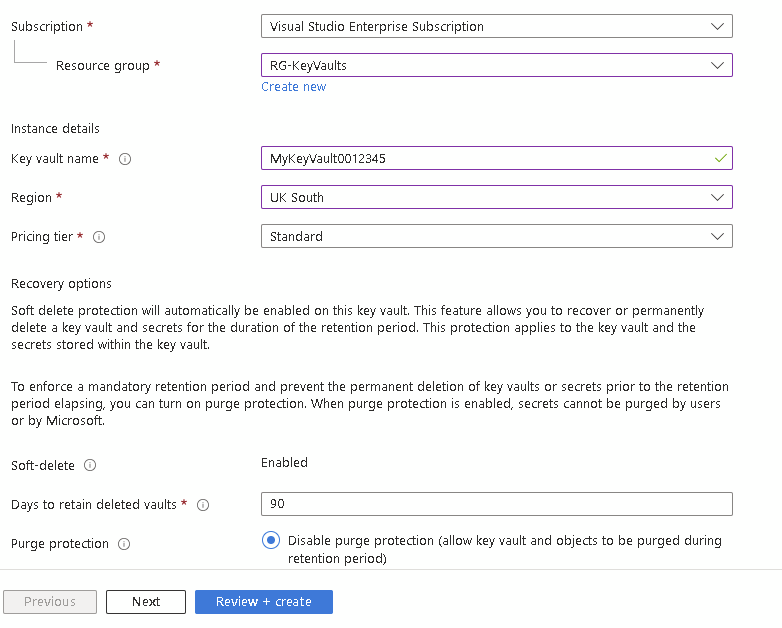
Click Create

Select your subscription and give the key vault a name. This name has to be exclusive across Azure so you might need some trial and error. As with before, you can create a resource group if required.
By default is will use Azure RBAC, if you need different configuration, click Next. Otherwise click Review + Create
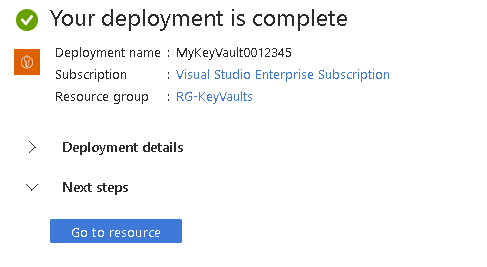
Click Create and wait for the deployment to complete and click Go to resource
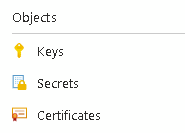
Click Certificates
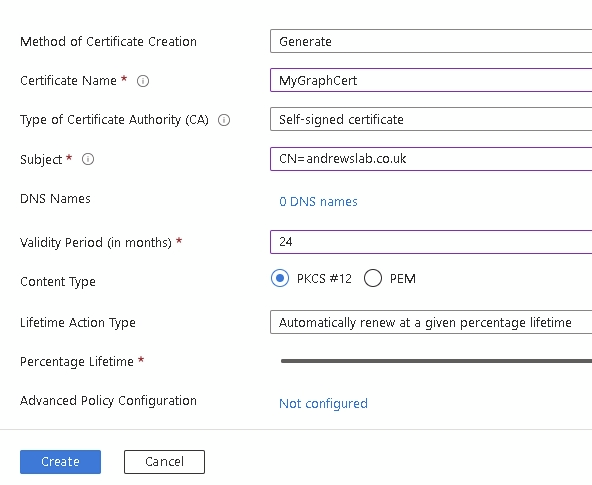
In this example, we will generate a certificate, but you can also import an existing one
Click Generate/Import (make sure your permissions are enough here too)

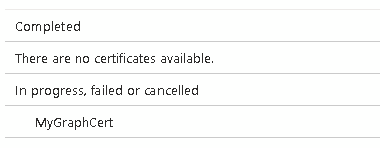
Fill in your details as required and click Create
Once created, click on your certificate
Then click on the latest version (this will update as it renews)
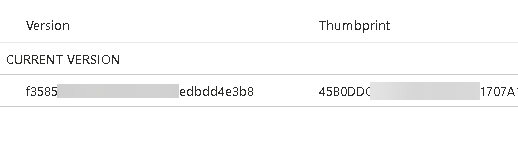
Download it in CER format

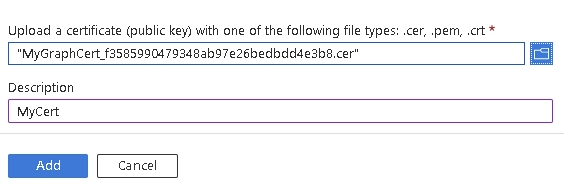
Back in your Entra App Reg, click Certificates and Secrets, this time select Certificate

Click Upload certificate

Select the certificate just downloaded and click Add
Connecting
We now connect to Graph using the cert and the Runbook managed identity
This script can be found here
First we connect to Azure with the managed identiy
Disable-AzContextAutosave -Scope Process | Out-Null

# Connect using a Managed Service Identity
try {
        $AzureContext = (Connect-AzAccount -Identity).context
    }
catch{
        Write-Output "There is no system-assigned user identity. Aborting.";
        exit
    }
Now we need the thumbprint for the certificate in the vault
$AzureContext = Set-AzContext -SubscriptionName $AzureContext.Subscription `
    -DefaultProfile $AzureContext


        $CertificateSecret = Get-AzKeyVaultSecret -VaultName <<<VAULTNAME>>> -Name <<<CERTNAME>>> -AsPlainText
        $CertificateBytes = [System.Convert]::FromBase64String($CertificateSecret)
        $CertificateObject = New-Object System.Security.Cryptography.x509Certificates.x509Certificate2Collection
        $CertificateObject.Import($CertificateBytes,$null,[System.Security.Cryptography.x509Certificates.x509KeyStorageFlags]::Exportable)
        $ProtectedCertificateBytes = $CertificateObject.Export([System.Security.Cryptography.x509Certificates.x509ContentType]::Pkcs12,"")
        [System.IO.File]::WriteAllBytes("c:\temp\Certificate.pfx",$ProtectedCertificateBytes)
        Import-PfxCertificate -FilePath "c:\temp\Certificate.pfx" Cert:\CurrentUser\My

        $thumbprint2 = Get-Item "Cert:\CurrentUser\My\$($CertificateObject.thumbprint)"
$thumbprint = $thumbprint2.Thumbprint
Finally, connect to Graph using the thumbprint
Connect-MgGraph -TenantId <<<TENANTID>>> -ClientId <<<APPID>>> -CertificateThumbprint $thumbprintManaged identity
If you are in a single-tenant scenario, managed identity connection is the safest as everything is handled within Azure and there are no expiries to worry about. During the runbook creation, it created a System Managed Identity within Entra which we can then use to connect.
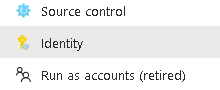
Within your Runbook, click on Identity
Add any Azure role assignments as required for your script (probably Intune admin and/or User admin)
That’s it, you can now connect:
Connecting
connect-mggraph -identityAdding your script
After sorting our permissions and connections, we can add our script.
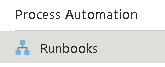
Within the Automation account, click Runbooks
Click Create runbook
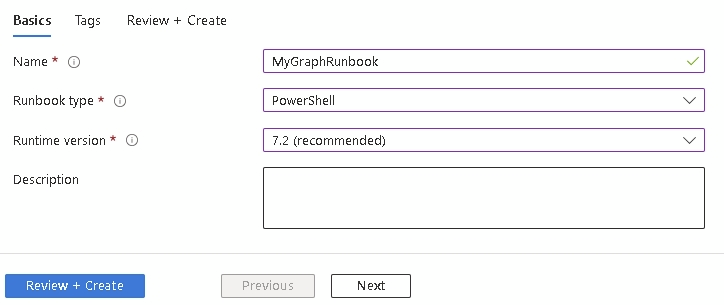
Add a name and select the Powershell version we used when adding the modules, then click Review + Create
You are now taken to a screen where you simply add your script.
Note: The script output pane will not display anything sent in a write-host so change to write-output if you want to see what’s happening
When added, click Save and then Publish
We have now added a script which we can run manually, but the beauty of runbooks is not having to do so.
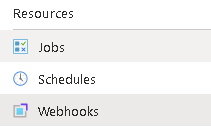
Webhooks
The first option is a webhook where you can trigger a runbook via a URL passing through any parameters (for example, app reg details, or any parameters required in the script)
Click Webhooks
Add a webhook

Click create new webhook
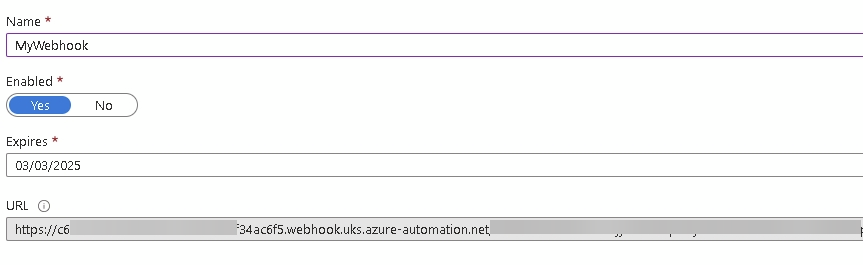
Add a name and expiry and copy down the URL, you need this and it can’t be retrieved and click OK. Expiry can be up to 9 years
If your script has parameters or needs a hybrid worker (more on that below), press Modify run settings

Now to trigger your webhook, simply send a web request to the URL created. If sending parameters, add those to an array
An example in PHP:
    //Add to array
$data = array(
    array("tenant" => "<<<TENANT ID>>>"),
    array("clientid" => "<<<APP ID>>>"),
    array("clientsecret" => "<<<APP SECRET>>>")
);
}
$header = array("message" => "WEBHOOK DEPLOYED");
//Encode it
$body = json_encode($data);

//Setup CURL
$ch = curl_init();
$url = "<<<URLHERE>>>";
curl_setopt($ch, CURLOPT_URL, $runbookurl);
curl_setopt($ch, CURLOPT_CUSTOMREQUEST, "POST");
curl_setopt($ch, CURLOPT_POSTFIELDS, $body);
curl_setopt($ch, CURLOPT_HTTPHEADER, $header);
curl_setopt($ch, CURLOPT_RETURNTRANSFER, true);

$result = curl_exec($ch);
curl_close($ch);
Scheduled jobs
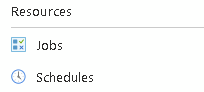
The other option is to run the runbooks on a schedule
Click Schedules
Click Add a schedule

Click Schedule
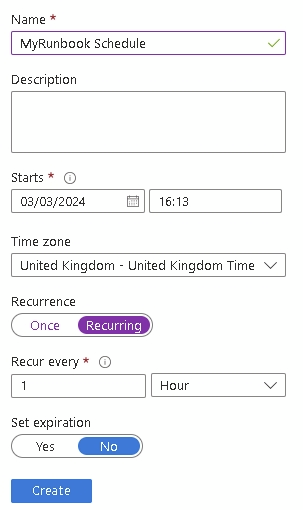
If you don’t have a schedule created, click Add a schedule at the top

Set your requirements and click Create
If your script has parameters, click Modify run settings
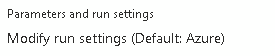
When completed, click OK
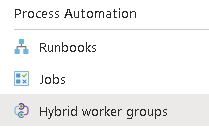
Hybrid Workers
Azure runbooks work on a Windows ARM machine with limited resources available. If you need more, such as a full Windows x64, you can use a hybrid worker. For this create a virtual machine and link it to the runbook under Hybrid worker groups
Just remember your VM will need standard maintenance as with any other VM
Hopefully this has been useful!