
With the release of Intune release 2304 there have been some (welcome) new additions to Windows Autopatch including Autopatch groups and policy checks.
Autopatch Groups
For some of you Autopatch is a click, set and forget service, but for those in larger organizations, you may want more granular control over quality and especially feature updates where you can specify exactly which machines gets the update in a controlled manner.
With Windows 10 counting down the days, you may need to start deploying Windows 11 at scale, but don’t want a big-bang approach. For this you can use the granularity of Autopatch groups and target at a much more precise level.
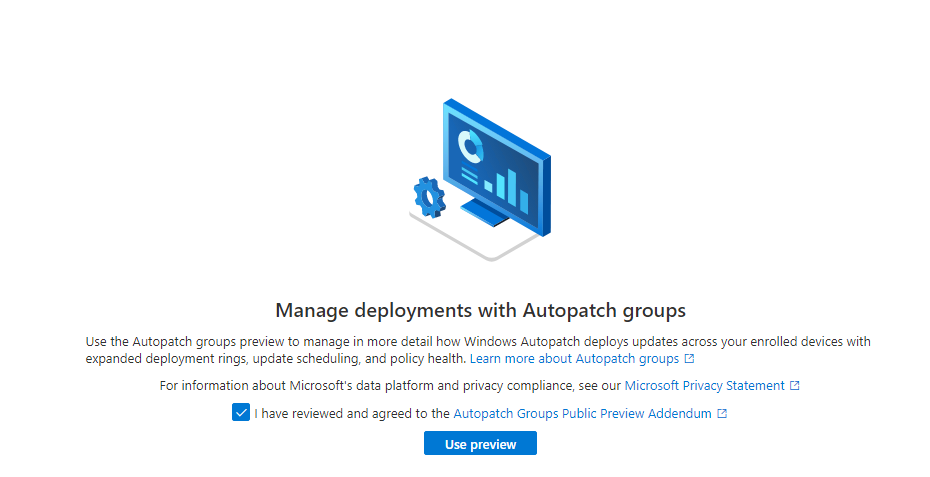
As it’s in preview, you may have to agree to a policy change first. In my case I also had this notification at the top:

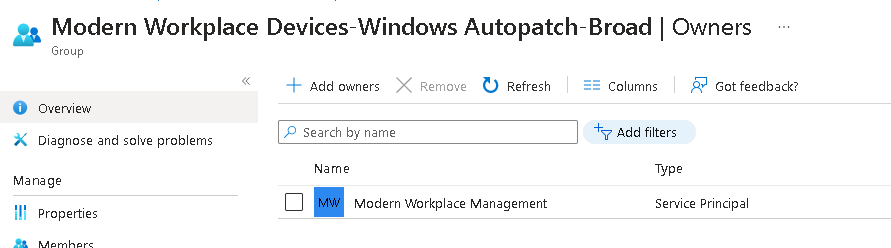
Obviously I had been messing with permissions in my lab tenant so had to add the owner back in again:
Now I can go ahead and accept the license
You’ll then be taken to a screen where you can create a new Group and populate it.
You can create up to 49 groups on top of the default one so even the larger organisations can use this for a phased rollout.
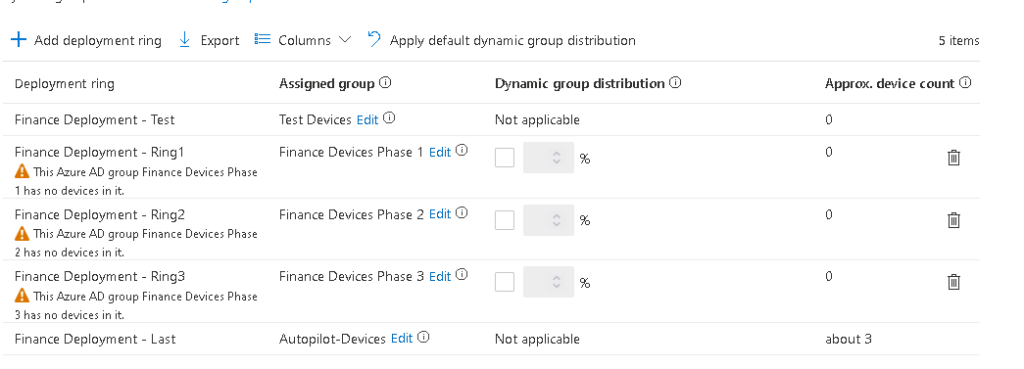
I’ve added 3 new rings, but you can have as few as two or as many as 15, or keep adding them, depending on your organisation needs.
For targeting these, it’s simply a case of building some Azure AD Groups so you could, for example, split by location, department, device type, anything you want here (please don’t do a full department at a time though). As it’s using the standard AAD Group configuration, you could even use device attributes to automate this further.
This is using static groups:
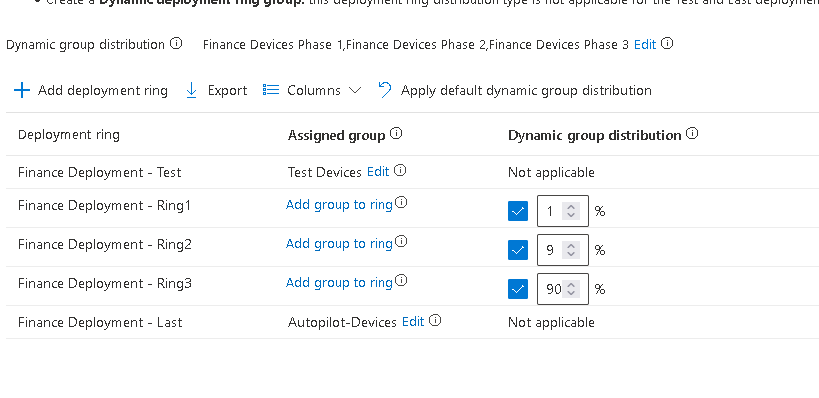
Or you can use a dynamic setup and let Autopatch share the distribution (note the test and last have to be statically assigned):
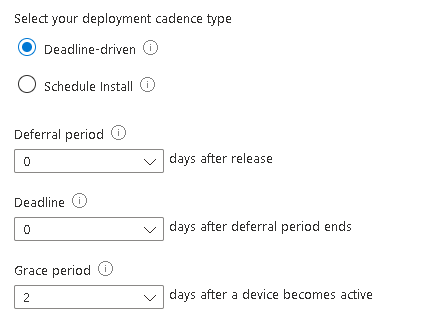
On the next screen you can see the default values set for your newly created rings:

Clicking the three dots allows you to change any of the settings to suit:
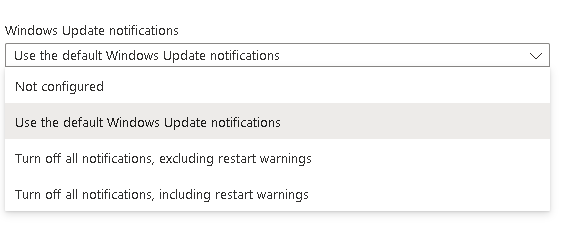
And you can also change the toast notifications if wanted (if you want to be brave, you can even block restart warnings!):
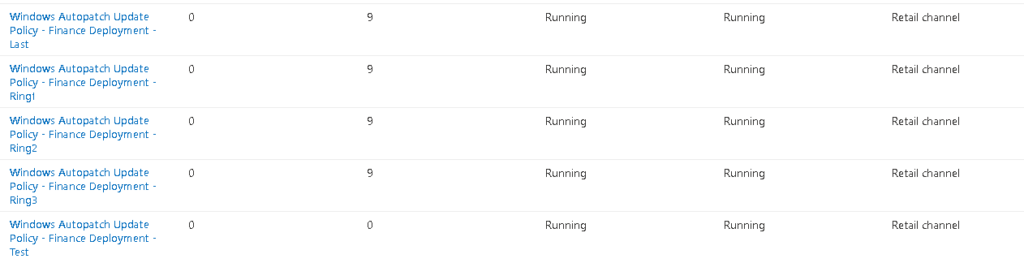
You will then see your new update policies appear within the Updates menu
Policy Checks
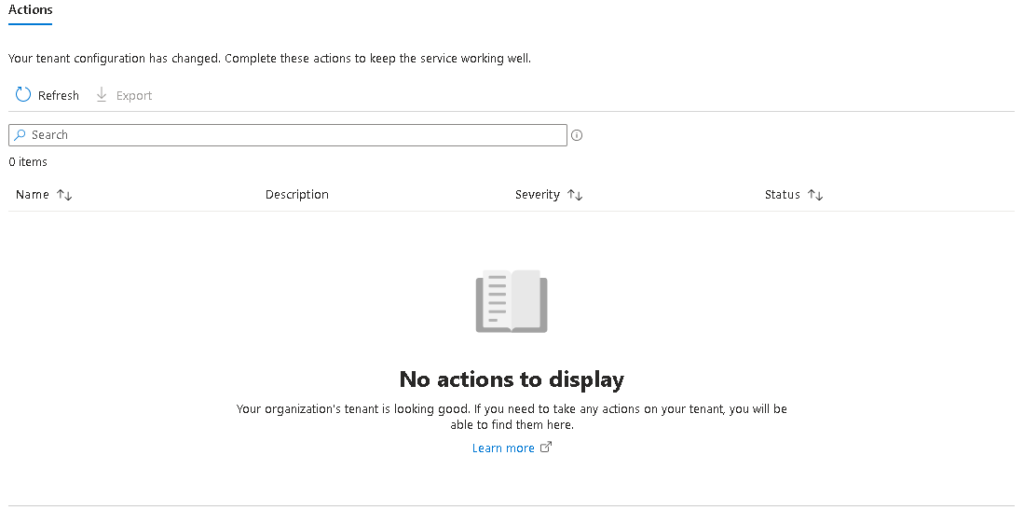
Another very welcome improvement is the ability to quickly check all of the default policies are present and configured correctly, including simply buttons to repair any issues.
For most people, this will probably remain empty, but in my case, I was a bit trigger happy with the delete button in my test lab and managed to wipe out some key policies.
What about the API?
If you know me, you’ll know I was straight into the F12 dev tools!
Whilst I can see the commands going to the Microsoft Managed Desktop API (and I can authenticate to it with an app reg), you can’t access anything within Autopatch using the API (you’ll find a lot of 403 unauthorized errors)